
The Solitary Studio Mirror: How to Audit Your Own Drawings Without an Instructor
Breaking the Illusion of the Familiar Canvas
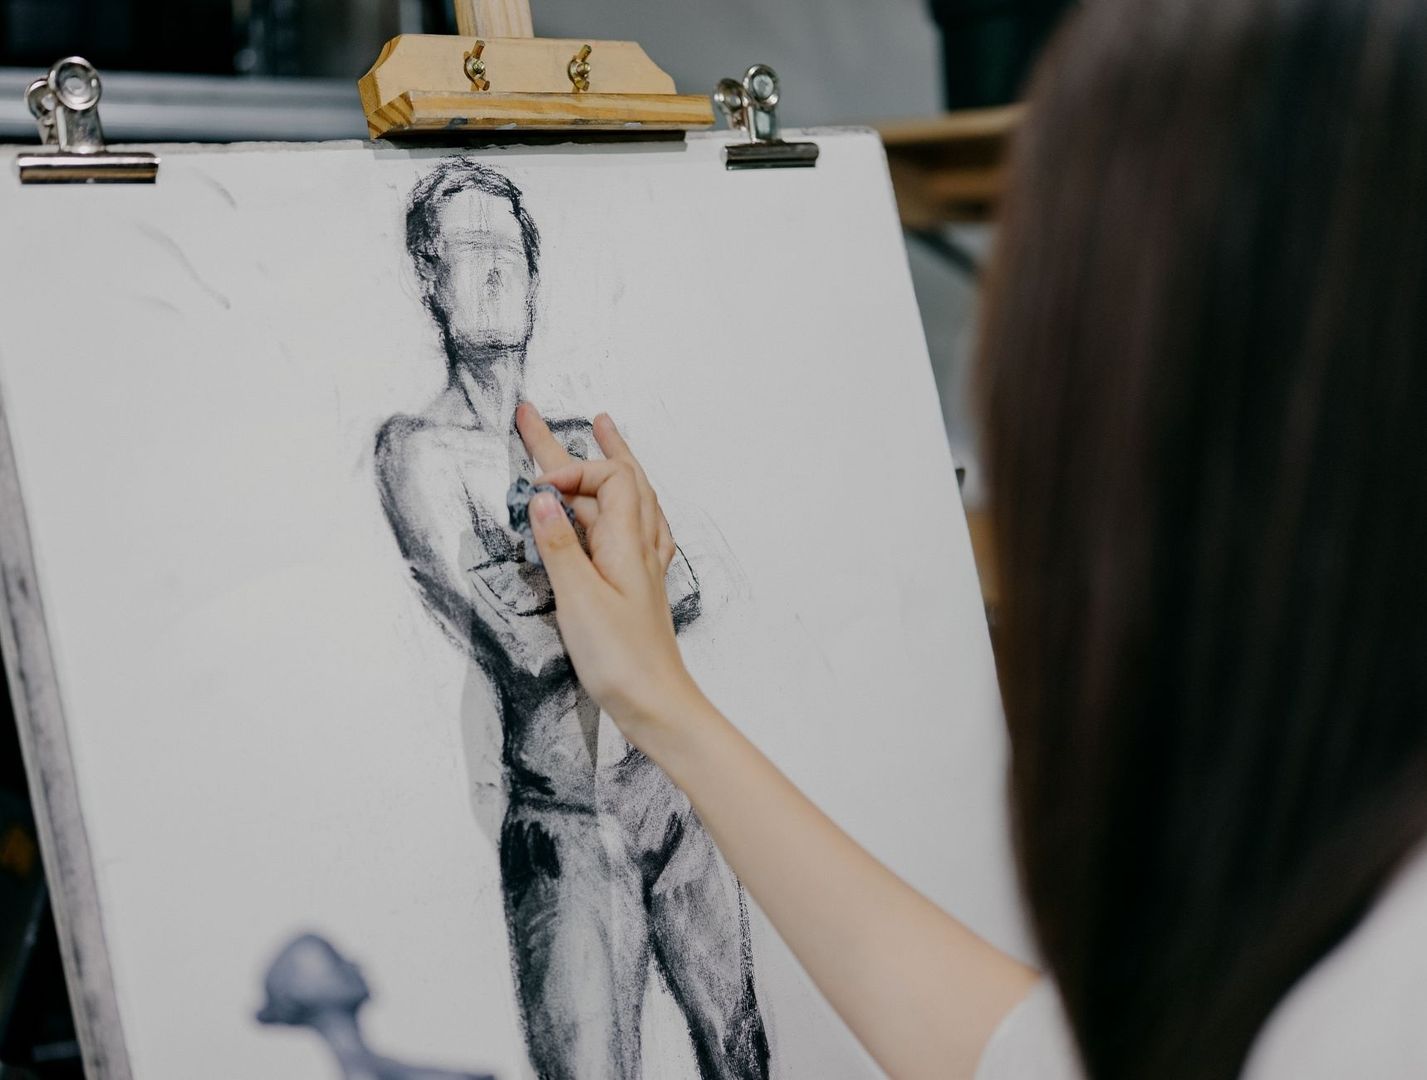
After several uninterrupted hours in the studio, a drawing can begin to look correct simply because it has become familiar. The eye stops examining the image as a set of relationships and starts recognizing it as an object under construction. This visual adaptation is especially persuasive in solitary practice, where no instructor interrupts the process with a fresh observation. A misplaced shoulder, a drifting axis, or a value that has grown too dark may remain unnoticed because the artist has looked at the same marks for too long.
Independent practice therefore needs deliberate interruptions rather than passive staring. A reliable mirror drawing exercise can translate the corrective spirit of the atelier into a private studio habit, while distance, defocused vision, and photographic checks offer additional perspectives. These tools do not replace judgment. They make judgment more alert by changing the conditions under which the drawing is seen.
The Mirror as an Uncompromising Critic
A handheld mirror is one of the simplest and most revealing diagnostic instruments available to a draftsman. Hold it beside the drawing and view the image through the reflection, or place the mirror at an angle so the reversed drawing appears clearly. Within seconds, familiar lines lose their authority. A head that seemed upright may lean, two eyes may sit on subtly different slopes, or the central axis of a torso may drift away from the supporting pelvis. The reversal exposes these discrepancies because the eye is no longer reading the drawing through the memory built during its creation.
This effect is cognitive as much as optical. When a drawing is viewed repeatedly in its original orientation, the brain becomes efficient at recognizing its intended subject. Recognition can override observation. Reversal interrupts that recognition and returns the image to a more unfamiliar arrangement of shapes. The exercise resembles the broader educational value of mirrored drawing activities, in which mirrored gestures and reflected forms encourage attention to line, mass, rhythm, and dominant elements rather than to a preconceived object.
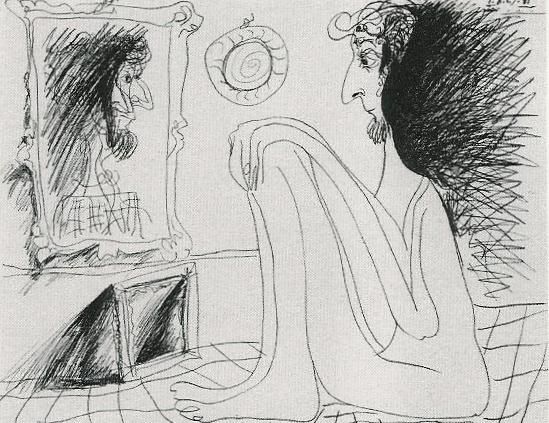
Use the reflection as a brief audit rather than a theatrical reveal. Check one structural question at a time:
- Reflect the drawing and identify the first major error that becomes visible, such as a leaning centerline or uneven shoulder line.
- Compare the largest proportions, including the height-to-width relationship of the head, the length of the rib cage, and the position of the pelvis.
- Trace the primary axes with your eye, asking whether the head, sternum, navel, knees, and feet form a coherent directional flow.
- Return to the original view and correct only the most consequential discrepancy before checking the mirror again.
The mirror is particularly useful for anatomy because the body depends on alignment even when it is asymmetrical. It does not demand perfect bilateral symmetry. Instead, it reveals whether an asymmetry appears intentional and supported by the pose, or whether it results from gradual drift. A five-second reflection check can expose more than another twenty minutes of concentrated rendering.
Optical Compression Through Distance and the Squint
Fine detail has a seductive presence. Individual eyelashes, fabric folds, hatch marks, and surface textures can make a drawing feel advanced while the larger arrangement remains unstable. Squinting counters this attraction by softening focus and compressing visual information. The precise edges recede, while broad masses of light and dark become more prominent. The drawing can then be judged as a composition before it is judged as a collection of descriptions.
Step back five to ten feet, depending on the size of the work and the available studio space. Half-close the eyes without straining, or allow the gaze to rest slightly beyond the paper. Notice which shapes remain legible. A successful silhouette should retain its essential character, and the dominant value pattern should still organize the image. If the figure dissolves into disconnected fragments, or if every region carries equal contrast, the drawing may need structural or tonal simplification.
Before returning to surface detail, use this checklist:
- Can the subject be recognized from its outer contour alone?
- Is there a clear hierarchy between the lightest lights, middle tones, and darkest darks?
- Do the largest shadow masses read as connected forms rather than scattered patches?
- Does the focal area receive the strongest useful contrast, or is attention pulled toward an accidental edge?
- Are the background and subject sufficiently differentiated in value?
- Does the drawing still communicate its pose or spatial design when viewed at a small scale?
Squinting should not become a substitute for close observation. It is a second opinion, useful at intervals throughout the session. Looking closely reveals edges and transitions; looking through softened vision reveals hierarchy. The most dependable tonal decisions survive both views. If a delicate passage works only at a distance of six inches, it may be functioning as texture rather than form.
Tools of the Diagnostic Atelier Kit
The traditional studio often relied on modest observation aids rather than elaborate technology. A mirror, a darkened reflective surface, a sighting device, and a change of distance could all interrupt habitual seeing. Modern artists can adapt these methods without turning the studio into a laboratory. Each tool is valuable because it isolates a different category of error, from proportion and perspective to tonal imbalance and compositional confusion.
| Tool | Best diagnostic use | Typical flaw revealed |
|---|---|---|
| Handheld mirror | Reversing the entire image quickly | Slant bias, uneven proportions, anatomical misalignment |
| Claude glass or black glass | Reducing the scene to simplified dark and light relationships | Weak value grouping, excessive detail, confused focal hierarchy |
| Digital photograph | Creating distance and viewing the work on a neutral screen | Perspective skew, cropping problems, inconsistent edges and scale |
| Physical distance | Testing silhouette and large-shape rhythm | Fragmented composition, weak gesture, disconnected masses |
A Claude glass, traditionally a small darkened convex or flat reflective device, can be understood today as a way of simplifying the visual field. A piece of black glass or a heavily tinted reflective surface reduces local color and detail, allowing the artist to inspect broad value relationships. It is not necessary to treat the device as historically sacred. Its usefulness lies in the perceptual reduction it creates. When the image becomes quieter, tonal structure becomes easier to discuss.
A digital photograph offers a different kind of distance. Photograph the drawing straight on, avoiding a steep camera angle, then view the image at thumbnail size or flip it horizontally. The screen removes the physical scale and studio context that may have influenced the original judgment. It can expose a page that is subtly trapezoidal, a horizon that rises unexpectedly, or a focal point that has become too centered. Perspective deserves particular attention: as lessons in perspective drawing demonstrate, inconsistent horizon levels and vanishing relationships can make a solid object appear tilted, sinking, or unstable. The purpose is not to obey rules mechanically, but to know whether a rule has been broken deliberately.
Building an Active Self-Audit Workflow
Self-critique becomes most effective when it is scheduled before fatigue turns it into an emotional reaction. Establish a pause every twenty minutes during a sustained drawing session. The interval is long enough to produce meaningful work but short enough to prevent complete visual adaptation. At each pause, leave the chair, change the viewing distance, and allow the eyes to reset before deciding what needs attention.
- At the first pause, inspect the mechanical structure: placement, proportion, gesture, perspective, and the relationship between major axes.
- At the second pause, use the mirror or a horizontal digital flip to locate asymmetry, slant, and proportional drift.
- At the third pause, step back and squint, judging the silhouette, value masses, focal hierarchy, and overall visual rhythm.
- At the final pause, examine edge quality, asking where contours should be sharp, softened, lost, or selectively emphasized.
This sequence moves from construction to interpretation. Early in the drawing, line placement and proportion deserve priority. Later, tonal balance and edge control determine whether the forms feel convincing. A common independent-practice mistake is to refine the wrong category at the wrong time, polishing a hand while the arm remains too short or deepening a shadow before the main light direction is secure. Structured pauses protect the drawing from this misplaced effort.
Emotional detachment does not mean becoming indifferent to the work. It means treating each mark as evidence rather than as a verdict on personal ability. Record observations in neutral language: “the left shoulder sits too high,” “the shadow mass breaks at the cheek,” or “the darkest accent competes with the face.” Such statements are actionable. “The drawing is bad” is not. The aim is the kind of attentive curiosity encouraged by reflective studio exercises, where artists identify dominant and subordinate elements and use that analysis to guide the next decision.
It can help to keep a small audit log beside the easel. Note the date, subject, three observations, and one correction to attempt. Over time, repeated entries reveal recurring habits. Perhaps contours become too dark too early, figures consistently lean in one direction, or backgrounds are left too close in value to the subject. These patterns are valuable because they transform vague frustration into a personal curriculum.
Cultivating the Independent Eye in Daily Practice
Mistakes become productive when they are treated as diagnostic data. A reversed image may reveal a habitual slant, a squinted view may expose an undifferentiated value field, and a photograph may show that perspective has shifted across the page. None of these discoveries invalidates the drawing. They identify the next area of attention. In a solitary studio, that shift in attitude is essential because progress depends less on constant reassurance than on accurate information.
Build the checkpoints into the next session before the first line is drawn. Set a timer for twenty minutes, keep a mirror within reach, reserve a clear place several feet from the work, and photograph the drawing at the end. Check structure first, then mass, then edges. With repetition, these actions become less like emergency corrections and more like ordinary looking. The independent eye grows through that rhythm: observe, interrupt familiarity, identify the evidence, and make one deliberate adjustment.
By Magnus
- 12, Sep, 2026
- 0 Comments